Sunday, February 26, 2012

The Birthday Board

I should have guessed from the name of her blog (Secrets of a Super Mommy) that this lady's crafting is way out of my league.   But I love, love, loved her idea of a Birthday Board.    We've always informally celebrated a birthday week, especially since parties don't always fall on the actual birthday and she's so right, "There are too many fun birthday things to do for just ONE day, especially when they are gone at school for 7-8 of their waking hours!"  I agree, Super Mommy!

So I set out to make my own birthday board.  I shopped, I browsed, I perused  the aisles of Hobby Lobby, Michaels, Joann's, Home Depot, Goodwill, Dollar Tree...I knew the right pieces would jump out at me when I stumbled upon them.  Not being skilled in woodworking, I opted for the plastic posterboard, I used my homemade mod podge and some scrapbook paper instead of copius amounts of paint and ribbon.  I got cute pre-paintred wooden pieces for the name plates.   I did buy one long piece of wood for the name plates, which I hand-sawed and sanded...and that was enough to turn me off of woodworking forever.  And you can see that Elly's plate, with 2 cut edges is a bit wonky!


All in all, I think it turned out cute and since my oldest has a birthday this week, he gets to try it out first.   He has Autism and some cognitive delays, so it's easy to overlook some of the pomp and circumstance for him, as he doesnt exactly *demand* the attention like his sisters.   I still throw him parties, but I love the idea of something visual that he (and the whole family) will see every day for a week to remind us all that it's *his special time*.  

So here goes...


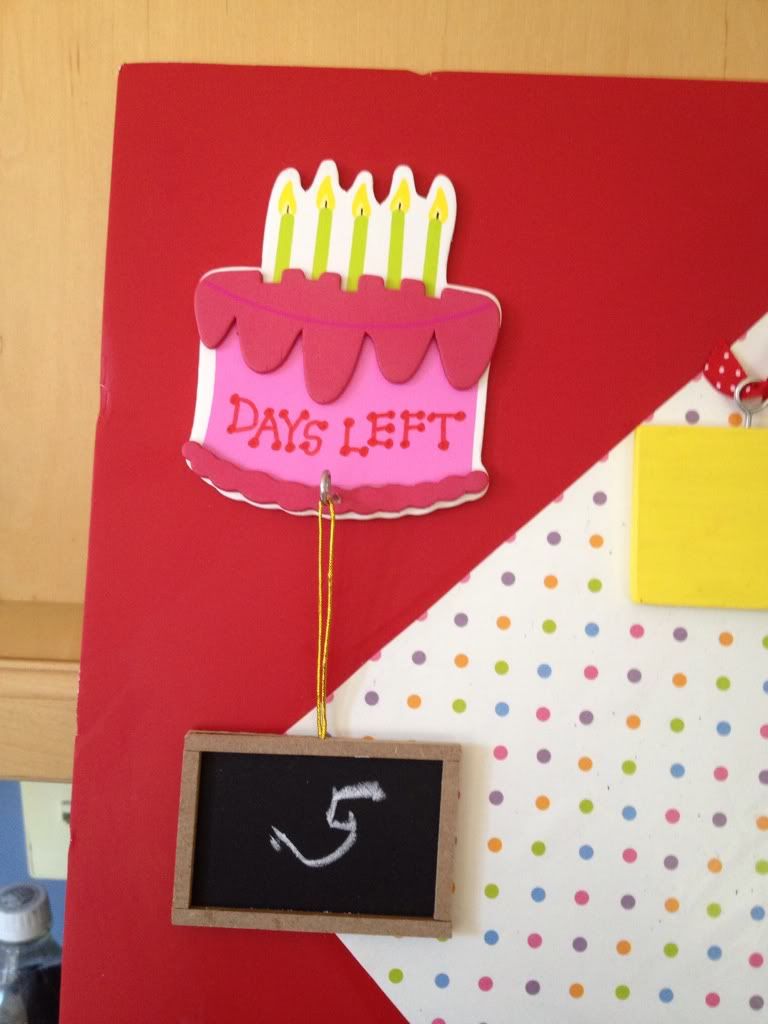
I bought this mini chalkboard months ago and it was perfect for this project!
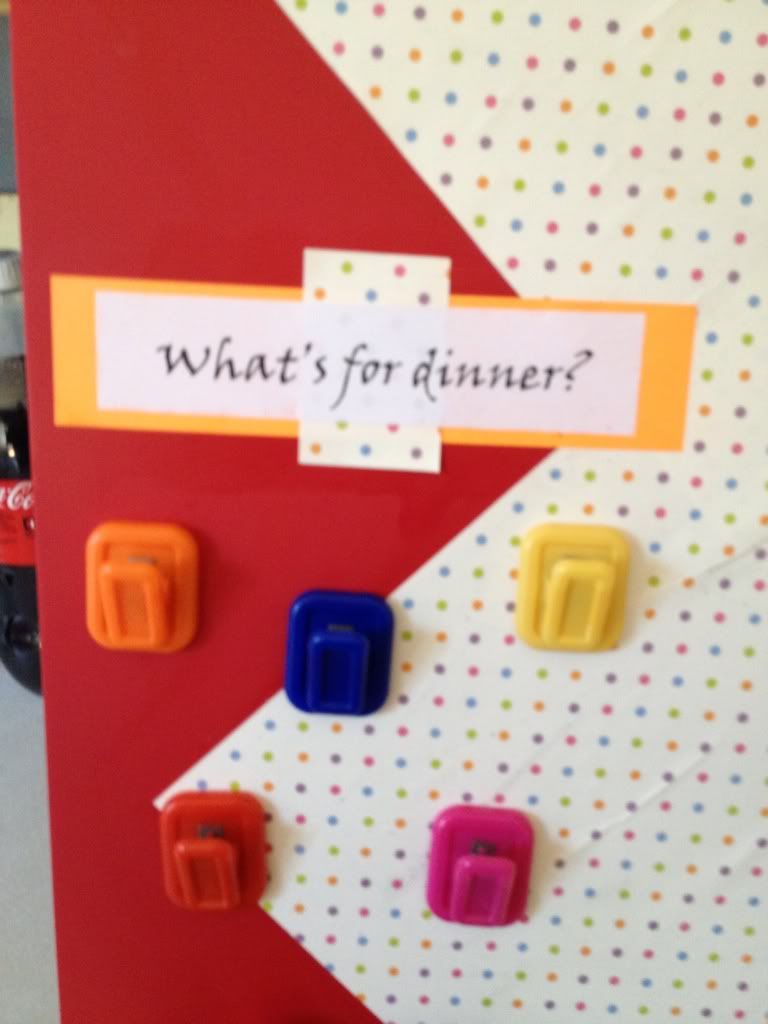
Birthday kid gets to pick 5 dinners.
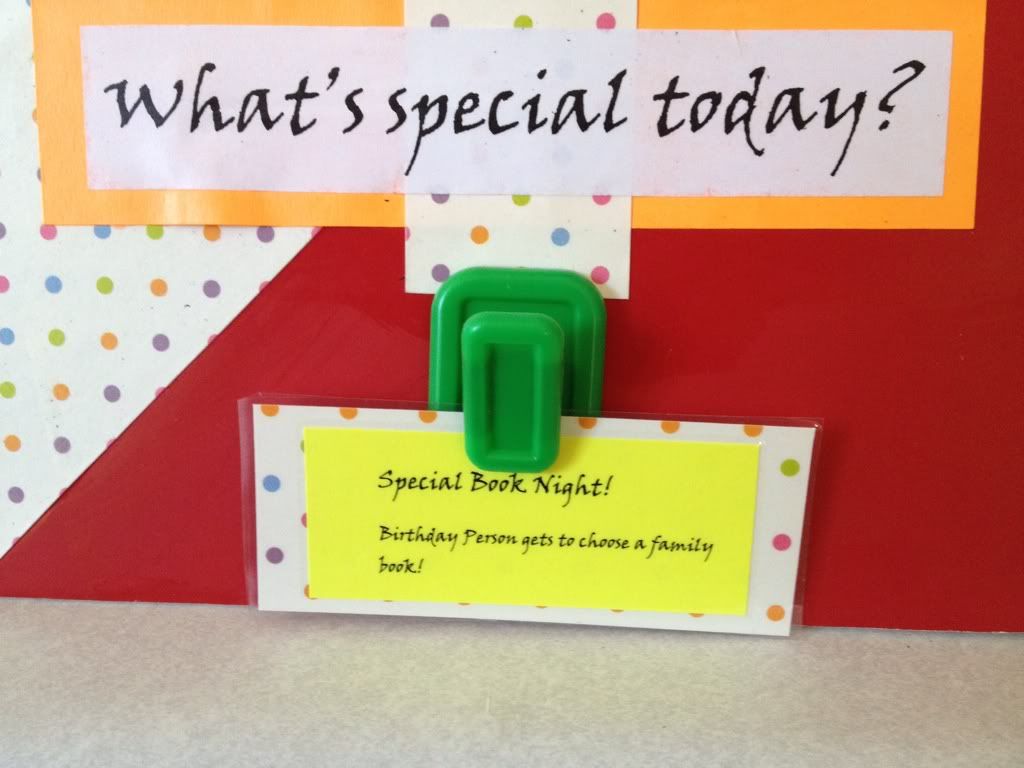
A special birthday-kid-centric activity each day.

I made up 7 acitivties, like Special Dessert Day or Special Book Night, plus added cards for the day we bring treats to school and the day of the actual party.   Also laminated a few blank ones in case I come up with new ideas.


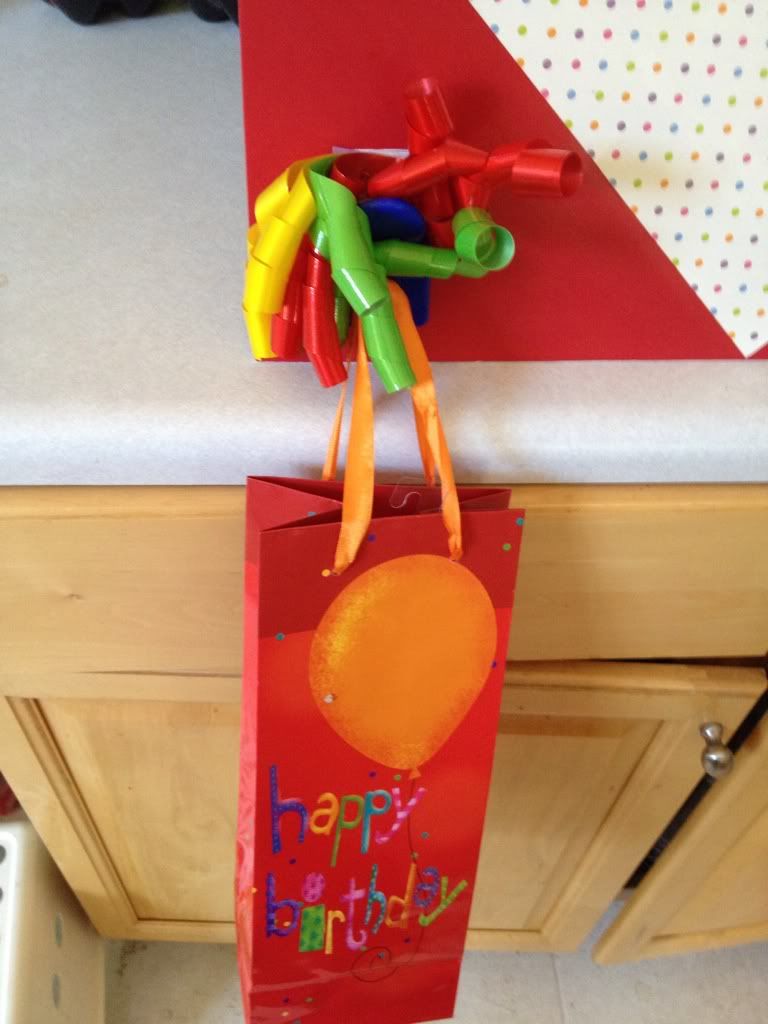
A little bag to hold a small present each morning.
This little box from Dollar Tree is perfect to hold extra cards, chalk, etc.


Sunday, February 19, 2012

The crocheted larynx

**UPDATE 2/26** I got 14/15 on this Extra Credit project.   Yay!

This was such an interesting project, I fear this may not be the last crocheted organ you see on this blog.

So for an extra credit project in my Dysphagia class, we were given as one option: "For arts-and-craftsy people, develop a three-dimensional model of portions of the swallowing mechanism. Label the structures and muscles. Be prepared to respond to instructor questions about function. Use your imagination."   

How could that not be an invitation for me to crochet a larynx?  So here is my step by step process.   Warning, if you are triggered by yarn renderings of tendons and muscles, then you may want to stop reading and uh...call a therapist! 

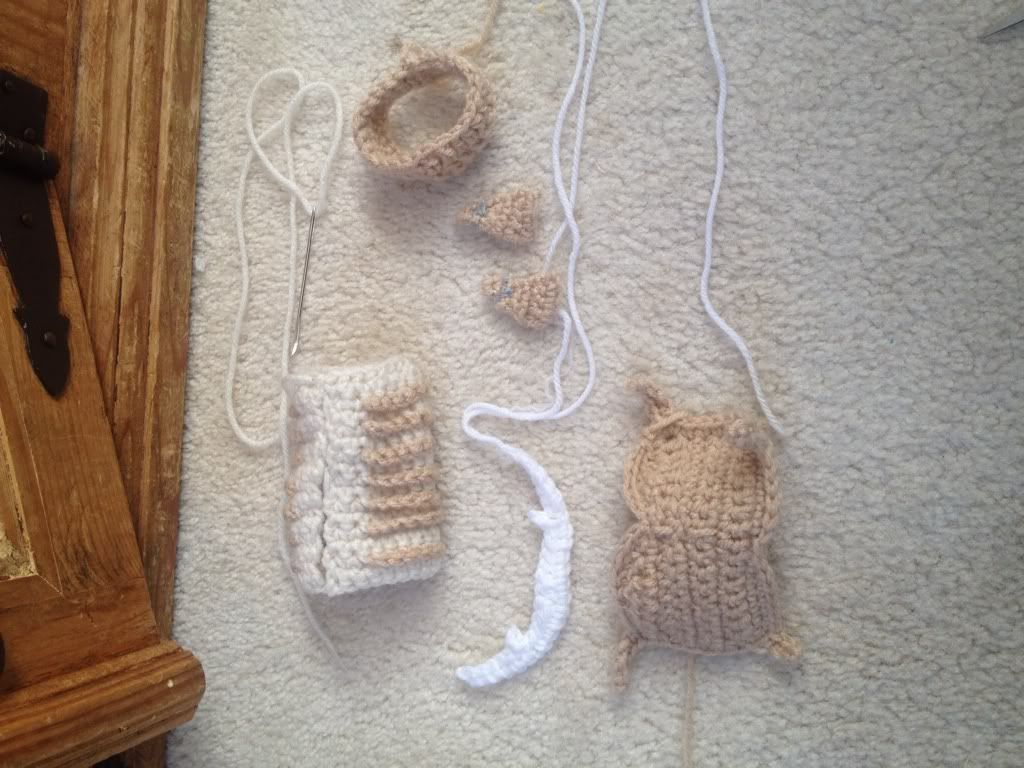
So the basic skeletal structures of the larynx were pretty easy:

Clockwise from top:  Cricoid, Arytenoids (with attached corniculate cartilages), thyroid cartilage, hyoid bone, trachea
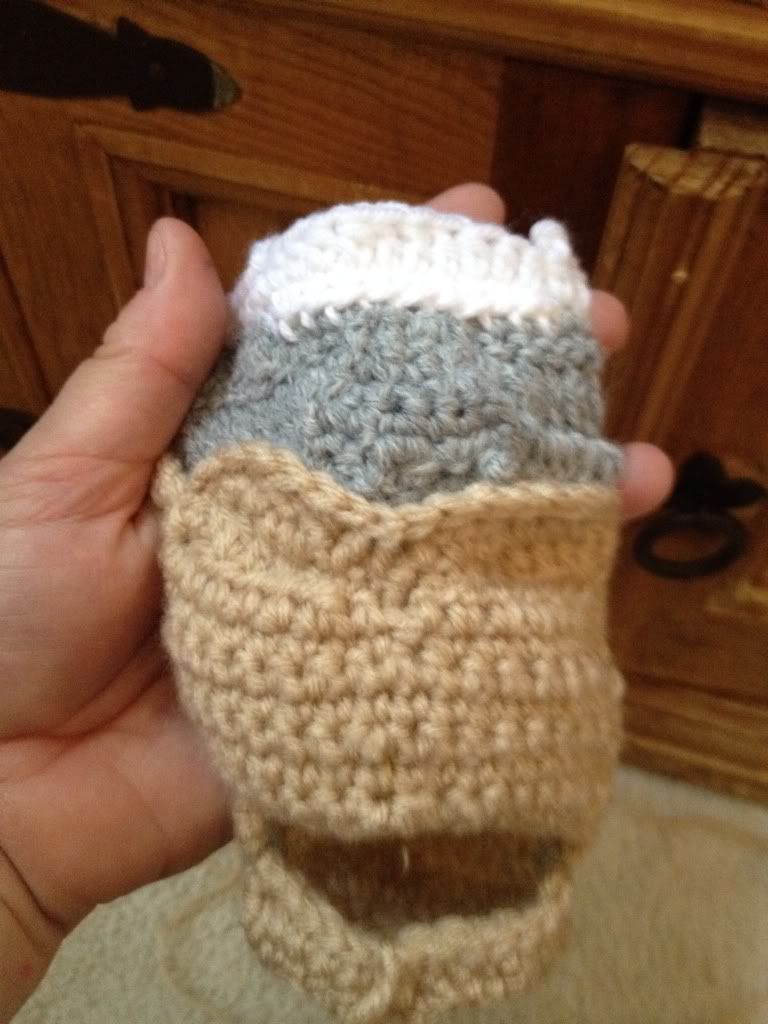
Then is was a matter of attaching them together.  I used grey yarn to represent the tendons. 

Cricothyroid joints and Cricoarytenoid joints
Next, I had to create the thyrohyoid membrane which attaches the Thyroid cartilage to the hyoid bone. 

Anterior view
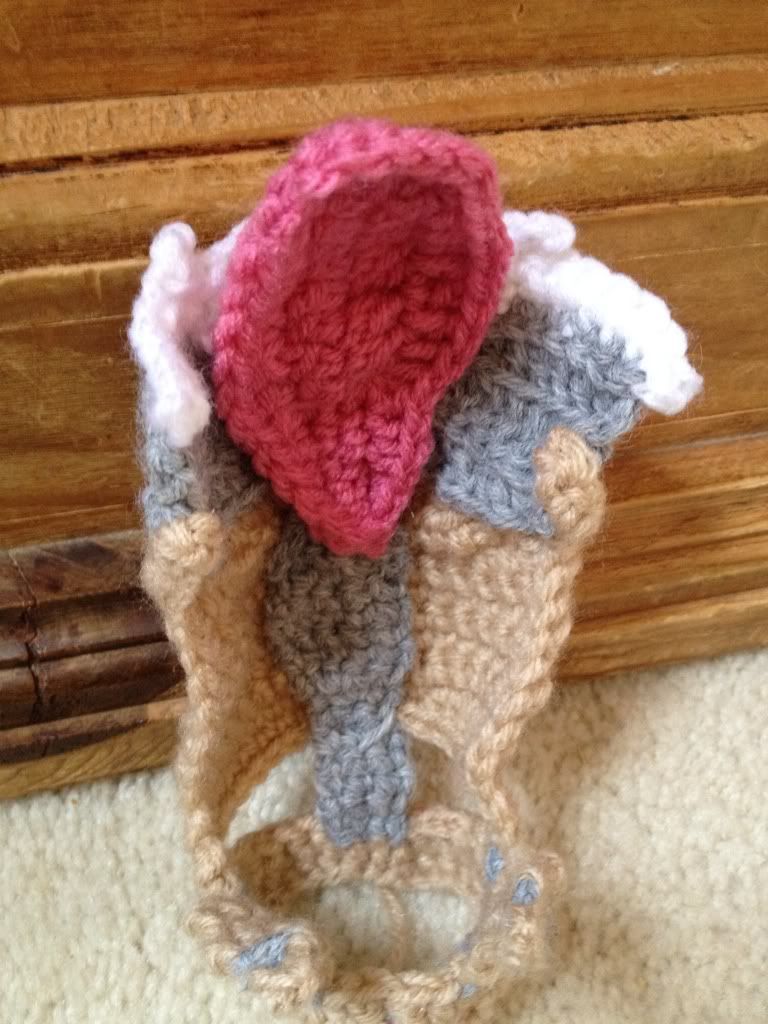
Next, we add the epiglottis and the cricothyroid ligament.

Posterior view
On to musculature...these were a bit tedious and kind of tricky to crochet from 2D images.  I ended up doing them all at once and had to label them so I didnt get all my little muscle fibers mixed up before it was time to attach & insert them to the various cartilages.  


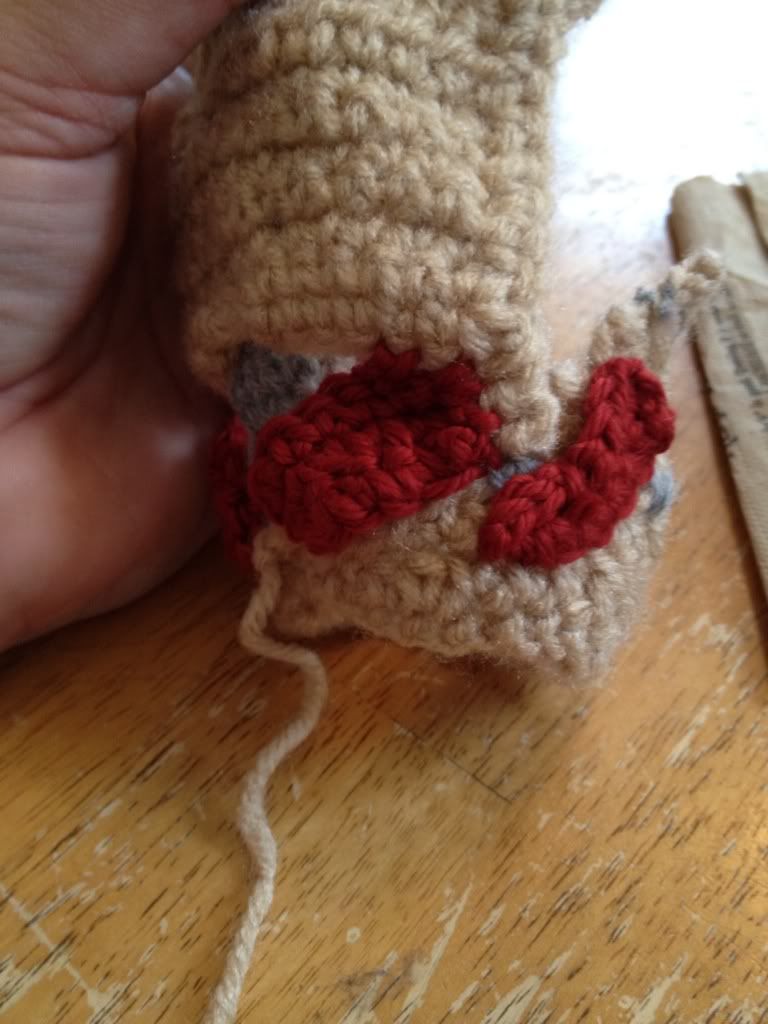
The cricothyroid muscles and the lateral cricoarytenoid muscles

The transverse arytenoid and the posterior cricoarytenoid muscles are attached

Last but not least, the vocalis (thyroarytenoideus) muscles and the aryepiglottic muscles which become the oblique arytenoid muscles.


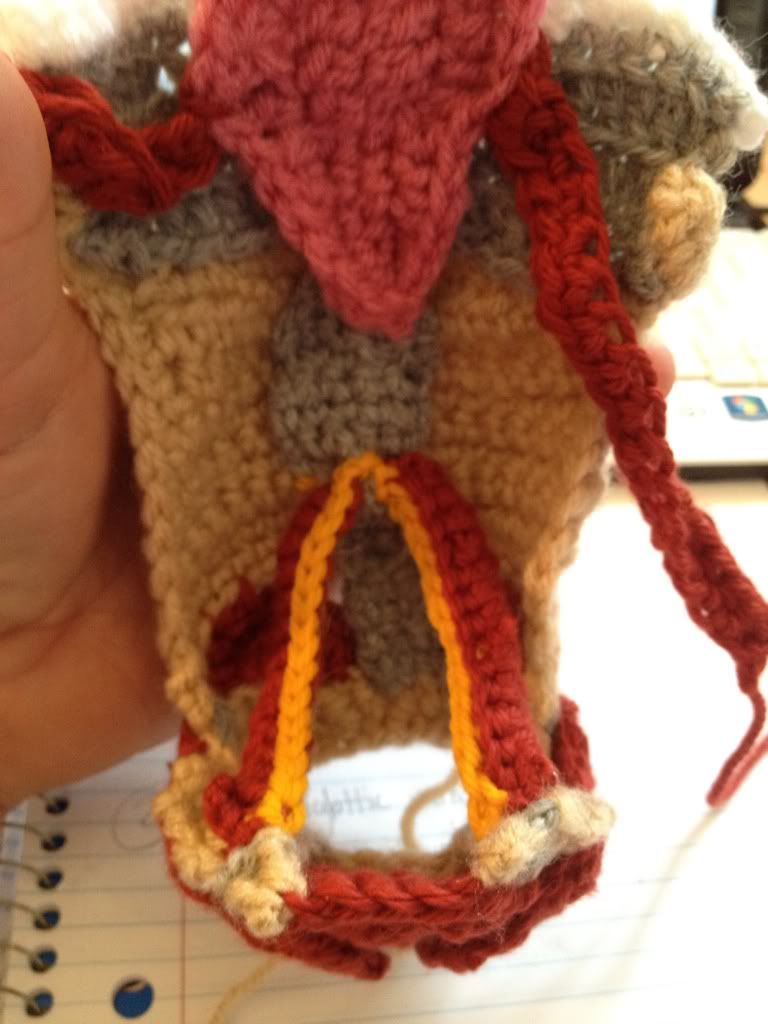
A better view of the vocalis muscles and the vocal cords.  Yes, my vocal cords are bright orange.  Why not?

I can even adduct and abduct my arytenoids to pretend ol' Yarnie is phonating!
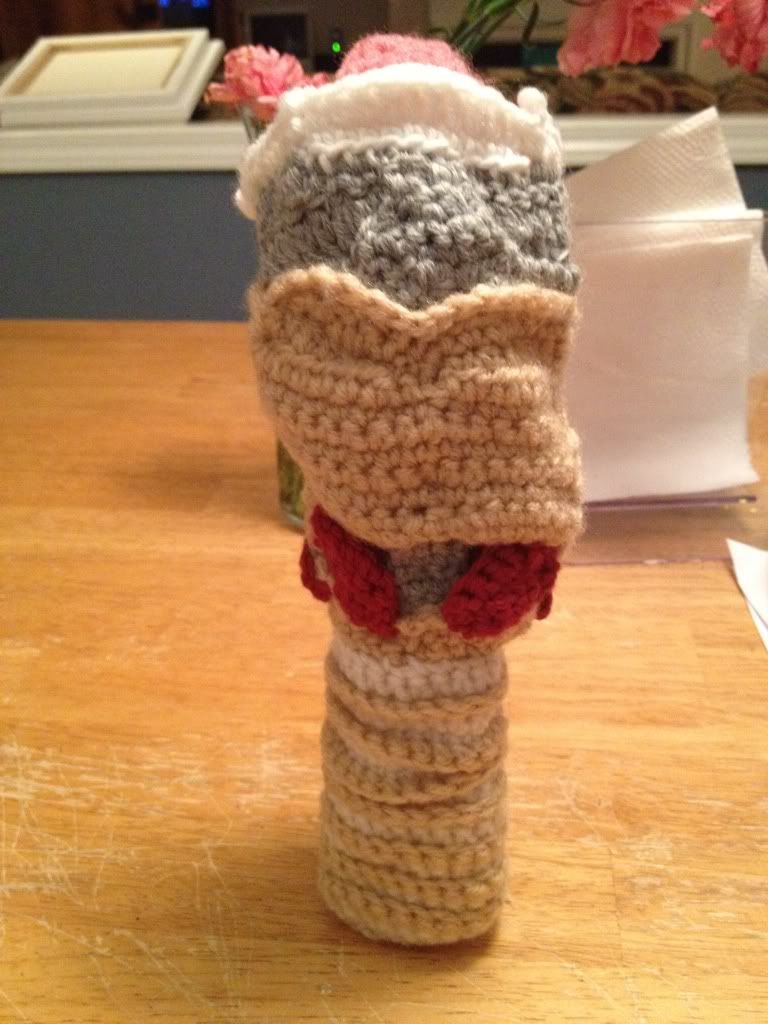
Then we attach our handy-dandy trachea and it LIVES!  Oh, well, not exactly.  But it does STAND!

Is it just me or does this look like a fancy ice cream cone concoction?

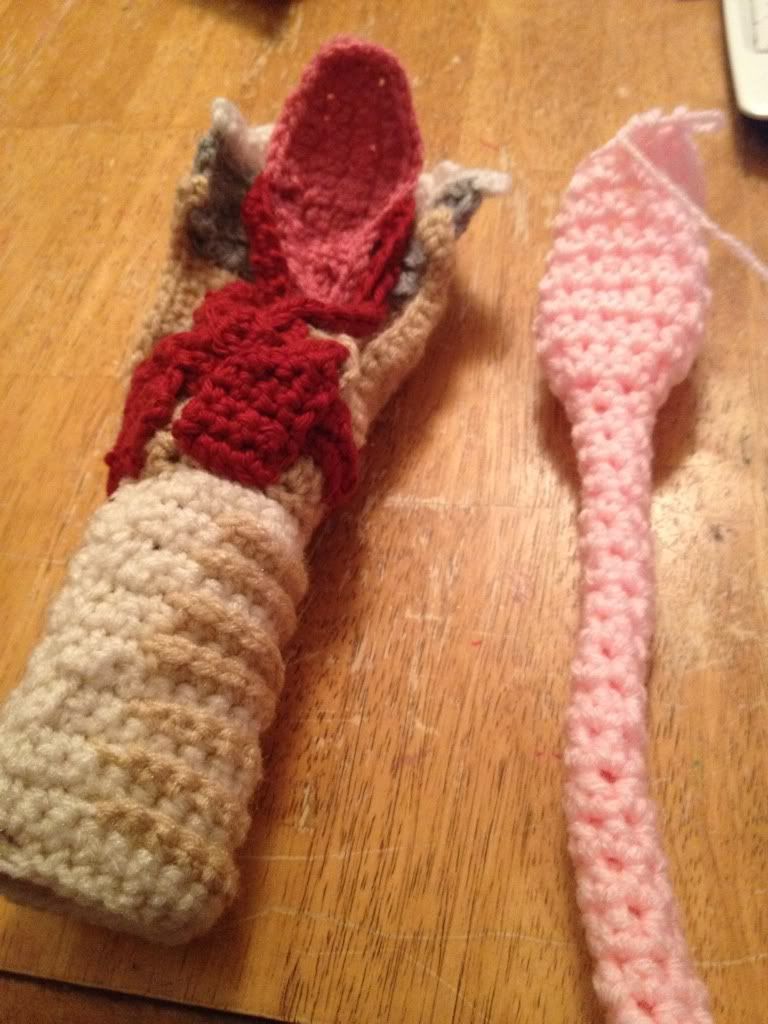
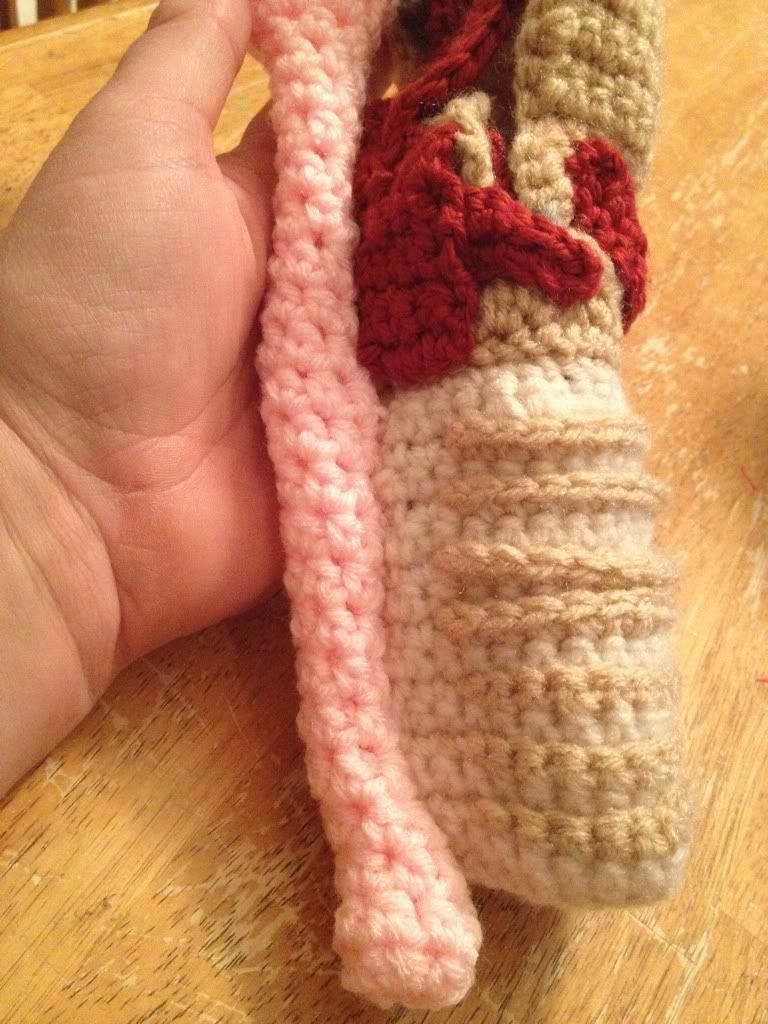
I made an esophagus but I dont love it.  Mainly because I dont really have a good place to stop at the top.  The esophagus morphs into the pharynx which morphs into the nasal and oral cavities and I didnt have it in me to crochet all the way to the lips and nose.   Seriously, do you know how long this took me?

Hey baby, how you doin'?  Nice bolus.  


And in real life, there would be all kinds of membranes separating these two star crossed organs from each other. 

And was it worth it?   Heck yeah.  I had a basic understanding of the structures of the larynx before this, but I never really understood exactly what the purpose of the epiglottis was, for example.  Today, I used the model to demonstrate to my 6yr old how the epiglottis closes off the larynx to protect the airway during a swallow.  And she totally got it!  How cool is that?

Tuesday, February 14, 2012

Faux Stained Glass

I am in love with stained glass.  I would sign up in a heartbeat for a glass class if I had the time and money.  Alas, I have neither, so I searched out a DIY version.   This was really, really fun.   And so open-ended.  And cheap, too!

First step, buy a frame from Dollar Tree.  For $1. 

Next, find a coloring page.  I originally wanted to do a mandala, but settled for something simple for my first try.   Here is a sampling.

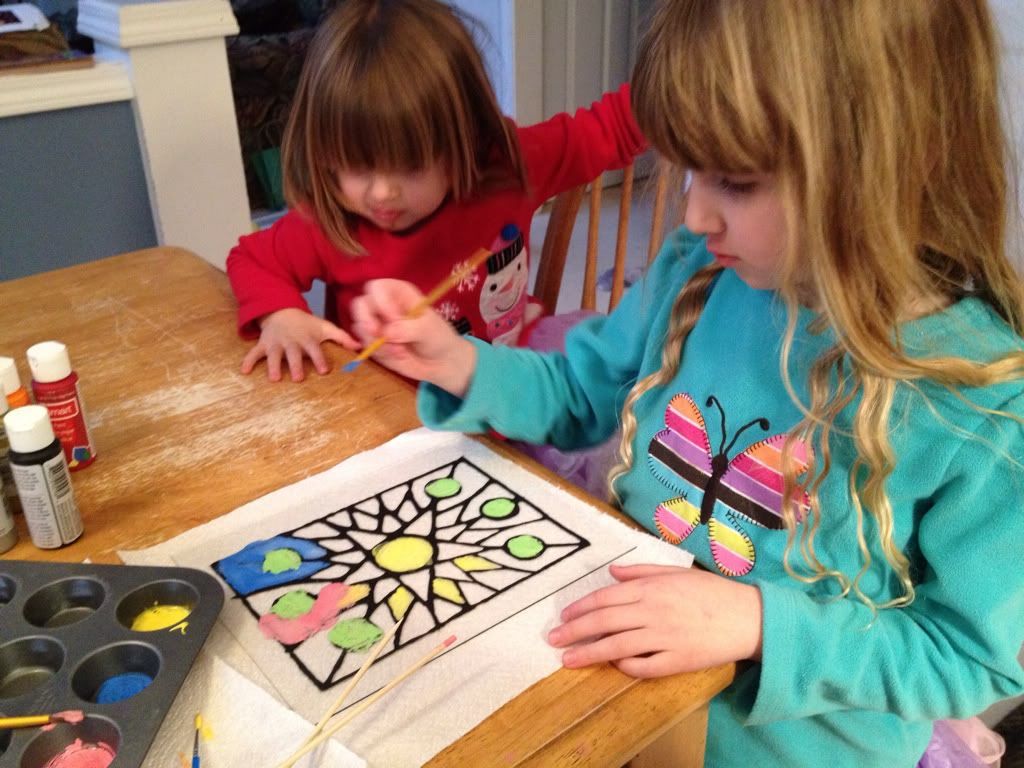
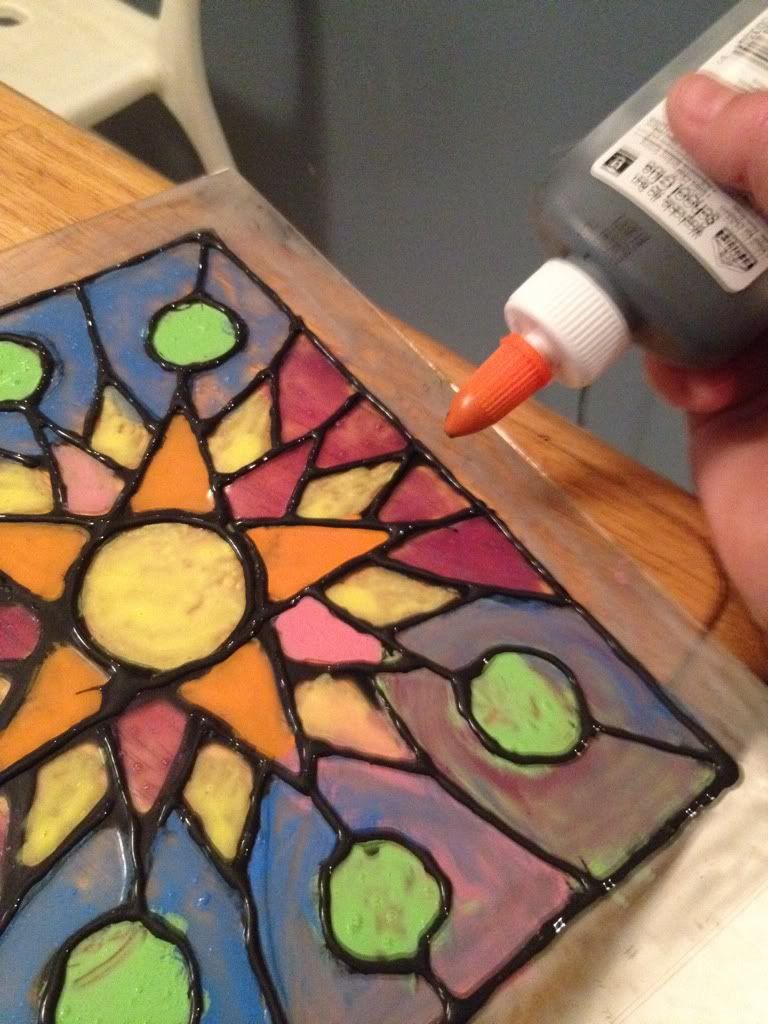
Third, follow the steps in this tute.    With glue and paint and stuff.  

I had helpers.
I went back over the top with the black paint/glue
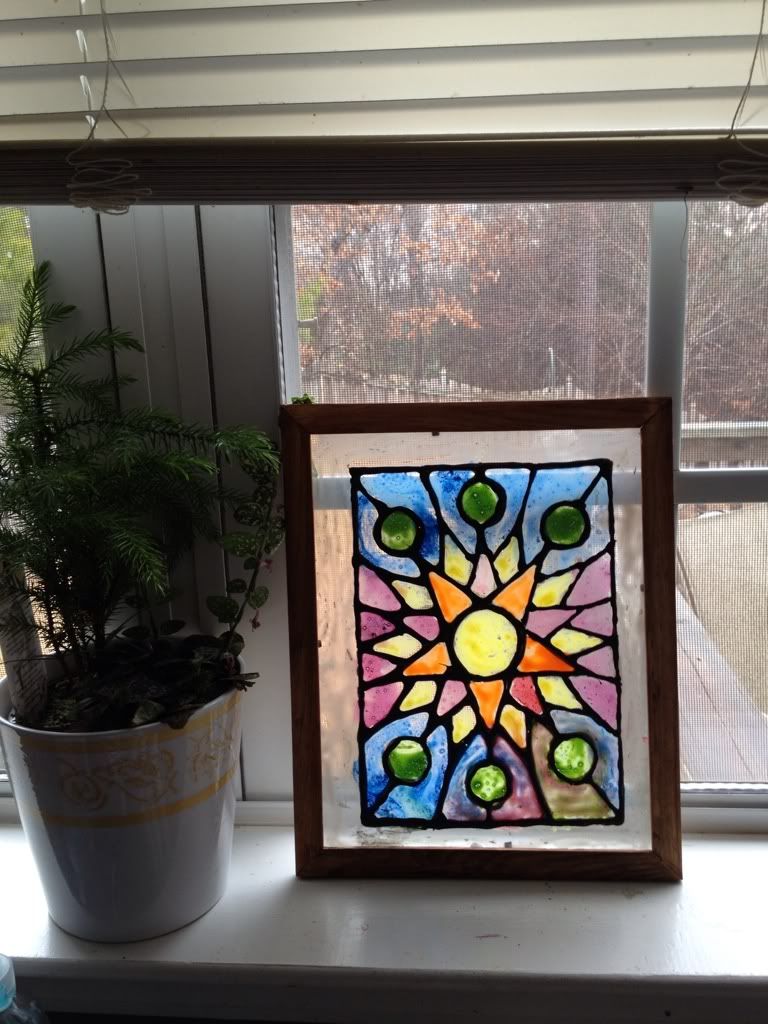
I love it!   Brightens up my kitchen window!

Monday, February 6, 2012

ROAC #2-8

Random Acts of Crochet is still up and running.   

First up...#2, the corset coffee cozy.   I think it qualifies as random just because it's a corset coffee cozy.   I added grommets and sent it off to my friend who is about to release her first novel, a steampunk paranormal romance called Wicked as they Come.    Go pre-order it, now!   But yeah, when I stumbled across the pattern, it just had to be made. 


NOTE:  I just googled "corset coffee cozy" to find the pattern to link here and there are like a million corset coffee cozy's out there.  Who knew?  

Next up, #3, 4, 5:  Wee baby hats for three wee babies who were born too early to a mom in my ICAN chapter.  I have never made preemie hats and I don't know if they will fit or not.  I used measurements from the Interwebz and my "preemie" stand in baby doll.   Two boys and a girl.  I wanted to get away from the traditional pink/blue and loved these color combos.    Loosely based on this pattern, I hope to made a set of bigger hats soon! 


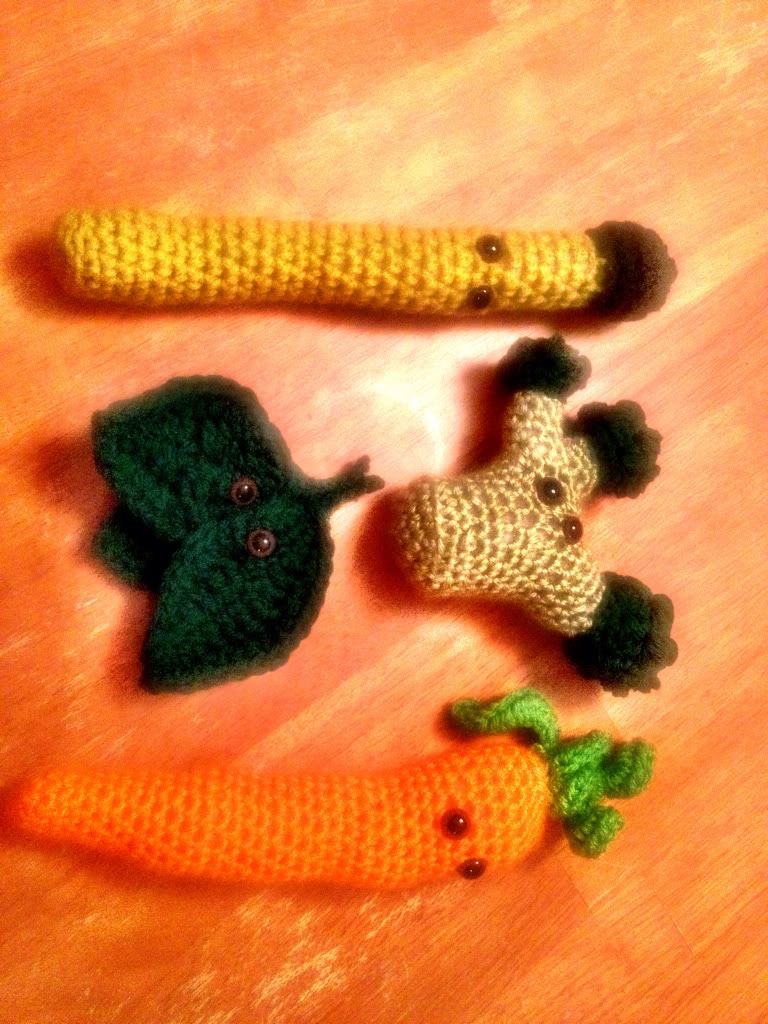
And, #6, 7, 8:  Veggies!   My daughter is a Vegetable Pixie in a play.  She plays the Carry, the carrot.  Her buddies are Aspy the asparagus, Spinny the spinach and Broc the, well, you get it.   So I made veggies for each kid to give out at the performance next weekend.   These are all basically free handed with the addition of "animal eyes" safety eyes.  I dig 'em.   My daughter doesn't want me to add noses or mouths.  What do you think?

Ok, so there are 4 veggies, but I can't count crochet for my own kids in my ROAC count.

Spinach was hard.  Spinach is just leaves.   No body to anthropomorphize.    So I just stitched 3 leaves together.  Tell me it's at least somewhat reminiscent of spinach, just to make me feel better. 


Whew, so it's week 6 of the year and I am already 2 ROAC's ahead.  That will be helpful as the semester ramps up with a vengeance!

Thursday, January 26, 2012

Why does there have to be 6 ponies?

I needed something to make, simple, quick that was not an owl hat.  

So I stumbled across this pattern and thought...great, I could whip up a few My Little Ponies for my girls and it should be easy to do while listening to lectures, since school started back up this week. 

Except...

1.  The pattern is really complicated and requires checking it often.
2.  My body ended up being a misshapen mess that was not remotely horse-like, so I had to improvise.
3.  Improvising a pattern means I have to think while crocheting.  A lot.
4.  There are 6 of these in the new My Little Pony:  Friendship is Magic series that my daughters are in love with.
5.   In no way can I make 1 or 2 ponies.  I must make all 6.   
6.  Each pony has a very intricate Cutie Mark on their haunch and I suck at embroidery.
7.  My daughters have already, very vocally, divvied up who gets what pony and are harassing me by the hour as to my progress on completing the project.

My kingdom for a time machine!

But here is Rainbow Dash.


Complete with Cutie Mark and wings.


Who has been played with non stop (and slept with) since her completion, approximately 48 hrs ago. 

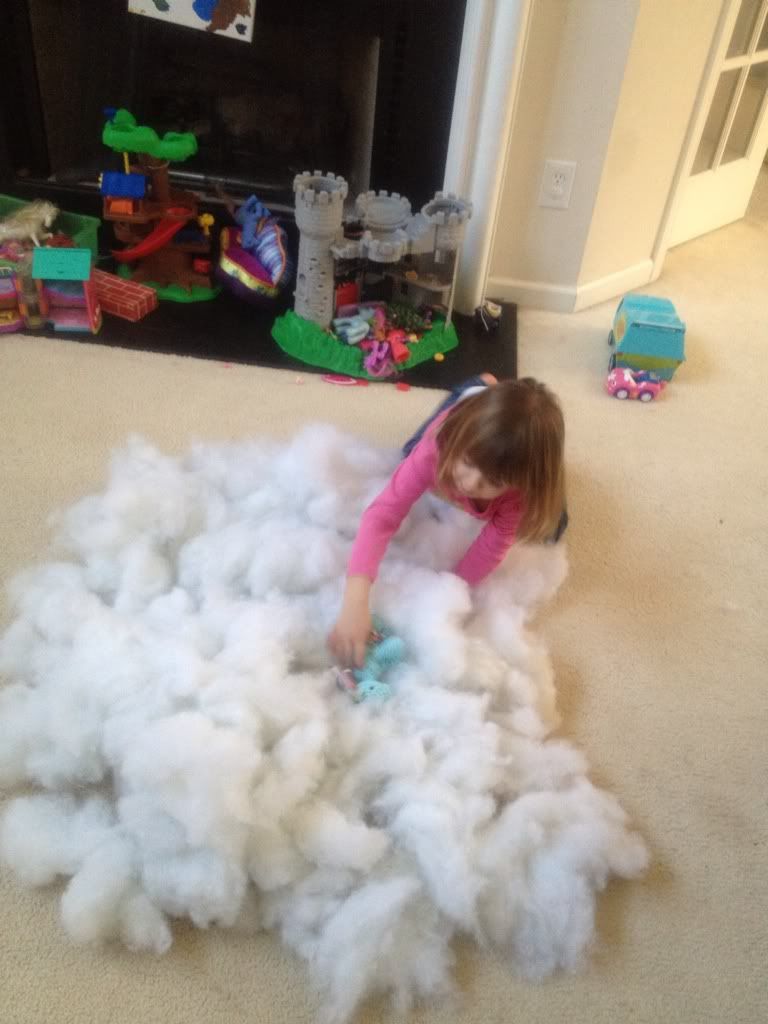
Why yes, my child *is* playing in a giant pile of polyfil stuffing.  Is that a problem?
Off to go sew on Apple Jack's cutie mark.

Saturday, January 21, 2012

I am woman, hear me drill!

While I crank out owl hats by the uh...quarter dozen, I have been busying myself with Pinterest recipes (Homemade Reeses PB eggs FTW!) and organizing/craft projects. 

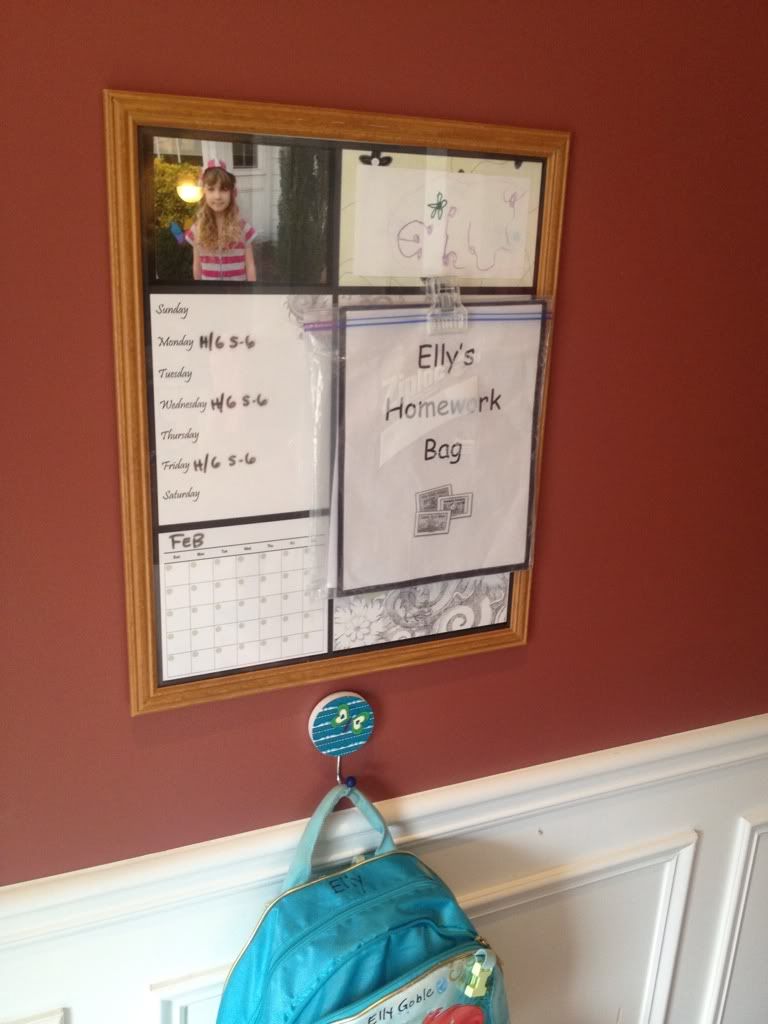
As soon as I saw this, I knew I *needed* these.   I am so innundated with school papers and keeping up with who has what on which day at what school is making me crazy.  If I cluttered up my family calendar with every "Crazy Hat Day" and "Picture Day", then I would start getting twitchy just looking at it.    Which sort of defeats the purpose of a big, highly-visible family calendar in the first place.

But while I appreciate the original blogger's entrepreneurship, I could not justify $35 + $10 shipping for each of the 16x20 prints.   Figuring I would bust out the scissors and cut & paste (the old fashioned way, baby!) the posters together, I asked some friends for advice.   In 15 mins, while nursing her baby, a friend tooled around in Photoshop and whipped up a version that looks 100% better than what I could have scrapped together.   At $5.99/ea to print at Costco, plus 3 $1 hooks from the Target Dollar Spot and 3 repurposed frames from the basement, I now have my splendiferous School/Backpack/Schedule/Homework/Calendar/Rehearsal Organization Station for under $23!


It's in the dining room, becauase we really only use that room for three things...

1.   Poker
2.  Christmas
3.  Storing crap like backpacks and homework folders. 
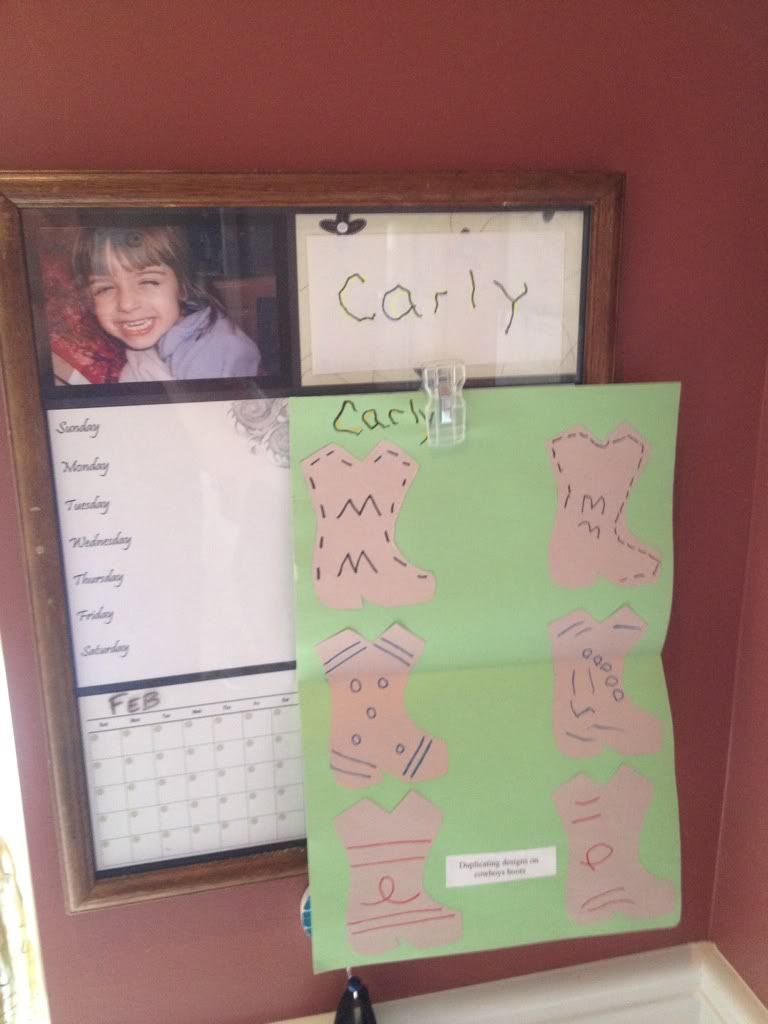
Each kid got to choose a picture and write their name.
Little Bit doesn't have homework, so I decided to show off her preschool work.


Next up is a felt board that I threw together, not from any particular pin, but just from the creative juices that are flowing when one completes projects and realizes...hey I can do this!  Plus I found an old cork board in the basement while looking for 16x20 frames.  


I glued the felt to the My Little Ponies I printed, but we used a stapler for the extra pieces the girls made.  No dry time and they work just as well.  Once these paper pieces get destroyed, we will make more.  


This free project has turned into hours of playtime in the last 2 days for my girls.  I think next year's Christmas shopping may all be done at Michaels.   OK, maybe I am dreaming...

Sunday, January 15, 2012

At least it only cost me $1

Yet again, I am struck by the curse of "That looks so simple!  I can totally make that!  It's even kid-friendly!" of that evil site Pinterest.   

I mean, there arent even any words!  How easy is that???
My first mistake was assigning the line drawing to a 6yr old.   Scratch that, my first mistake was using Sharpie, so her squiggly lines were permanent.    Use chalk.  

I think mistake #...where were we at in the count?   3?  Was to use cheap felt squares.  The 3/$1 jobbers at the craft store.   They tend to flop and flip and squish.  The ones in the picture look thicker, but then again, thicker felt may have made this a less kid-friendly project.

As it is, she was irritated that she couldnt cut the felt all the way through.


She was irritated that the hearts were flipping around.


So she left and I encouraged the younger one to join me in this SUPER FUN CRAFT PROJECT!


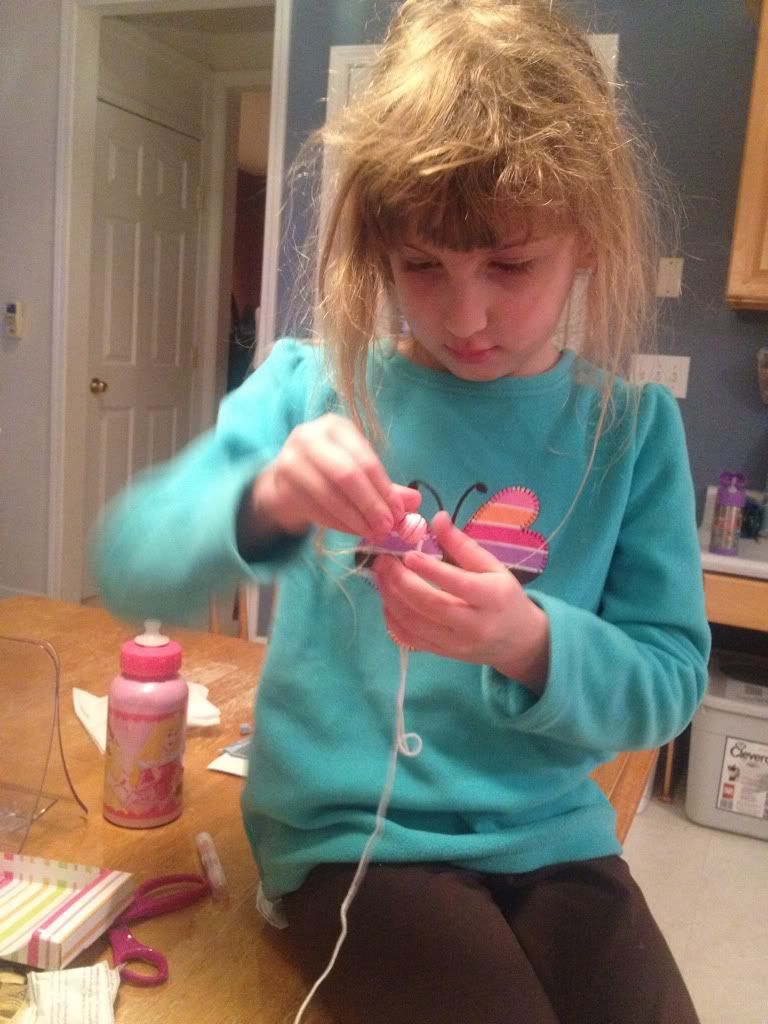
She threaded approximately 6 beads before she left to go play with her sister and I was alone with this heaping pile of felt and yarn.


Which I finished off so lovingly and hung it so lovingly by the hearth...only to have half the hearts flop upside down. 


Oh and the 6yr old told me it was too early for Valentine's Day decorations anyway.

The law of averages would hold that if I do enough craft projects off Pinterest, I'll eventually knock one out of the ballpark, right?